You paid good money for window tint. The installer handed you the keys, everything looked sharp, and for a while your car felt cooler, quieter, and more private. Then one afternoon you notice it. A small bubble under the rear window. A tiny lifted corner near the door frame. Maybe a patch that has gone slightly purple in direct sunlight. The feeling is frustrating and a little confusing. Tint is supposed to last for years, not months.
You are not alone with these concerns. Bubbling and peeling are two of the most common complaints drivers have with aging or poorly installed film. The good news is that understanding why it happens puts you back in control. You can catch problems early, make smarter choices the next time you tint a vehicle, and stretch the life of the film you already have. This guide walks through the full picture. What the problems look like, what actually causes them, how to spot them early, what can be repaired versus replaced, and how to prevent the whole situation from happening in the first place. Shops handling professional window tinting in Indian Land, SC, including Black Bear Protective Films, see these issues almost every week from drivers who tinted with a budget installer and learned the hard way that quality truly matters.
What Bubbling and Peeling Actually Look Like
Before getting into causes, it helps to understand the exact failure modes. Bubbling and peeling are related, but they are not identical. They tend to start small, get worse over time, and each one points to a slightly different underlying problem. Recognizing the difference helps you communicate the issue accurately when you bring the vehicle in for an inspection or a quote on replacement.
Small Bubbles vs Large Air Pockets
Tiny bubbles that appear within the first week or two after installation are usually just trapped moisture. That is completely normal during the curing process, and those small pockets typically disappear on their own as the water evaporates through the film. What is not normal is a cluster of bubbles that shows up months or years later. Those are not moisture. They are a sign that the adhesive layer has started to fail, or that contamination was trapped between the film and the glass during a rushed install.
Larger air pockets, the kind you can press with a finger and feel flex, signal more serious separation between the film and the glass. Once you see them, the film has already lost its bond in that area, and the problem will almost always spread to neighboring sections of the window. Drivers often notice these bigger pockets developing during the hottest stretch of summer, when sustained heat accelerates adhesive breakdown faster than any other time of year.
Edge Peeling and Lifting Corners
Peeling almost always starts at the edges of a window. You might notice a corner near the top of the door frame beginning to curl slightly, or a straight edge lifting just enough to catch dust underneath. This is a classic sign that the adhesive around the perimeter has given up. Edges are the most exposed part of any tint installation. They feel the most temperature swings, they get handled by door seals every time a window moves, and they absorb the most moisture during rain and car washes. When tint starts failing, the edges usually go first.
Discoloration That Shows Up Alongside Bubbles
A less obvious but equally telling sign is color shift. Film that has started to bubble or peel often shows purple, brown, or hazy white patches at the same time. That discoloration is not random. It is the direct visual evidence of dye breakdown or adhesive decomposition happening in the same layers where the physical failure is occurring. Once you see two of these symptoms together, the film is usually past the point of saving.

The Main Reasons Window Tint Bubbles or Peels
So why does window tinting bubble or peel in the first place? There is rarely just one reason. More often, a combination of factors stacks up over time until the film simply cannot hold. Here are the biggest culprits, organized roughly from most common to least common.
Low Quality Film
Not all tint is built the same. Budget films cut corners on the adhesive chemistry, the topcoat durability, and the UV inhibitors that keep the film stable over time. Any one of those shortcuts can trigger failure within a couple of years. The price difference between a cheap film and a professional-grade film is often smaller than drivers expect, but the lifespan difference is huge. You can pay once for quality, or you can pay two or three times for the same job at budget shops.
Why Cheap Dyed Films Fail First
Dyed films are the most common offender. They rely on colored dye layers to block light, and those dyes break down under sustained UV exposure. As the dye degrades, the film turns purple or brown, the adhesive weakens, and bubbles start to form. A driver in sun-heavy climates like South Carolina can sometimes see this kind of failure within two or three summers. Carbon and ceramic films, by contrast, use stable particle-based technology that holds up far longer. Ceramic in particular uses non-metallic particles that resist UV degradation and deliver heat rejection without fading, which is why it has become the preferred choice for drivers who want a true long-term solution.
Poor Installation Technique
Film quality only matters when the installation is done right. Dust trapped under the film, inconsistent pressure during the squeegee pass, inadequate cleaning of the glass before application, or cutting corners on the slip solution can all create weak spots that turn into bubbles or peeling months later. Installation is a precision craft. A rushed thirty-minute job is not the same thing as a careful two-hour installation done by a certified technician in a controlled, dust-free environment.
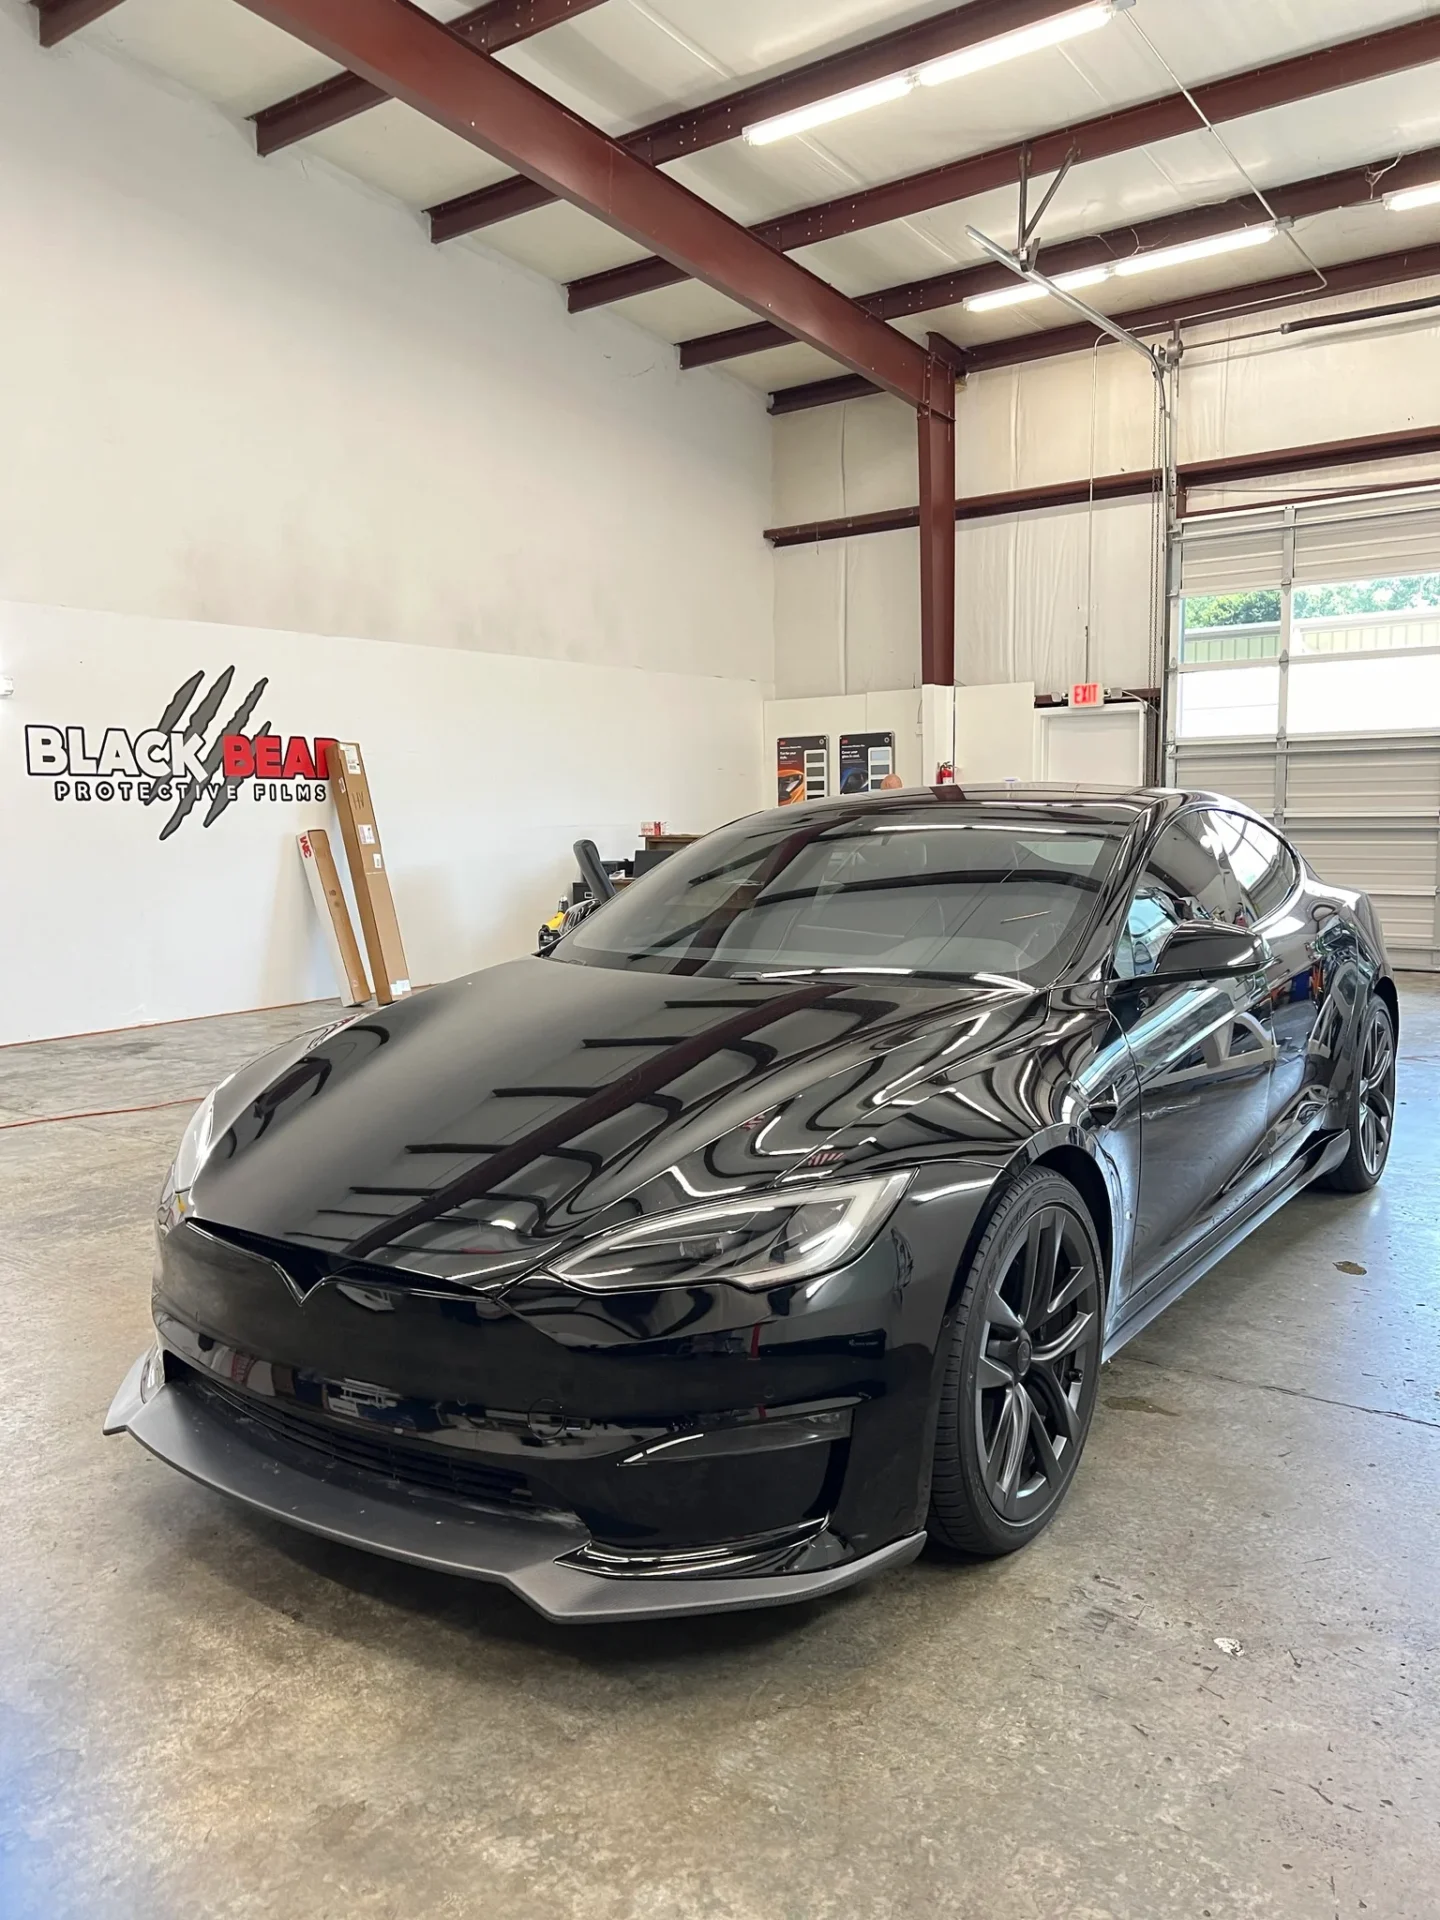
This is where the difference between an established shop and a pop-up operation shows up most clearly. Quality window tinting shop in Indian Land, SC is carried out inside purpose-built facilities where technicians have the tools, lighting, and workspace control to catch tiny contamination issues before they get sealed behind the film. A curbside install done in a parking lot rarely does.
Age and Natural Adhesive Breakdown
Even the best film has a finite lifespan. Premium ceramic tint can last ten years or more, while budget films may only last two to four. Once the adhesive reaches the end of its chemical life, no amount of care will keep it bonded. Bubbling and peeling at that stage are not a failure of the product. They are simply the film telling you it is time for a replacement. Recognizing this distinction matters because some drivers blame themselves or the installer when the film has simply aged out. A ten-year-old tint job that starts bubbling is doing exactly what it is supposed to do at that point in its life.
Prolonged Heat and UV Exposure
Heat and UV radiation are the two forces that age tint the fastest. They cook the adhesive from the outside in, causing it to harden, crack, and eventually lose its grip on the glass. This is why cars parked outdoors almost always see tint failure earlier than garage-kept vehicles. The effect is cumulative, and the southern-facing window in your driveway ages faster than the shaded ones on the other side. Even within the same vehicle, you will sometimes see one window fail years before the others simply because of its orientation during the car’s life.
How Humidity Makes Things Worse
Humidity adds another layer to the problem. High moisture in the air sneaks into the edges of the film over time and attacks the adhesive from underneath. That is why drivers in humid regions along coastal North Carolina, for example, often see failure sooner than drivers in dry inland states. The combination of heat and moisture is harder on film than either one alone, and it is the primary reason humid southeastern states have higher rates of tint replacement than the national average.
Using the Wrong Cleaning Products
This is the silent killer of window tinting. Ammonia-based cleaners like most common household glass sprays are actively destructive to tint adhesive. Every time you wipe your tinted windows with them, you speed up the breakdown process. Over months, that damage accumulates and shows up as bubbles and peeling edges. Ammonia-free automotive glass cleaners are required for tinted glass, and stepping away from the wrong product is one of the easiest ways to extend film life. Many drivers have no idea their cleaner is the problem until the damage is already done.
Rolling Windows Down Too Soon
Tint needs time to cure after installation. During the first two to four days, the adhesive is still bonding to the glass and the film is vulnerable to disruption. Rolling the windows down in that period can drag the film against the door seal and break the adhesive bond before it has set. What starts as a tiny edge lift can spread into full peeling within weeks. Most professional installers provide written aftercare instructions covering this exact issue, but drivers who skip reading them often end up creating the damage themselves in the first week.
Warning Signs Your Tint Is Starting to Fail
Tint rarely fails without warning. Catching early signs gives you the chance to either save it or plan the replacement on your schedule instead of in an emergency. Knowing what to watch for can save you from driving around with film that looks worse every week.
Visual Clues You Can Spot From Outside the Car
The most obvious signs are visible from a few feet away. A purple or brown color shift, especially compared to neighboring untinted glass, is the clearest indicator of dye breakdown. Clusters of bubbles concentrated in one area rather than spread evenly across the window are another giveaway. Slight lifting at any corner or along a straight edge, even one millimeter or two, is a strong sign the adhesive has started letting go. A quick walk around your vehicle in good daylight every month or two is enough to catch these problems before they become severe.
Performance Clues You Notice From Inside
The internal signs are subtler but equally important. A gritty or uneven feel when you run a finger across the inside of the glass suggests the topcoat is breaking down. Reduced heat rejection compared to when the film was new points to UV inhibitor failure within the film layers. You may also notice harsher glare on sunny days, since the film is no longer filtering light the way it used to. Experienced installers often see vehicles come in with two or three of these symptoms showing up at once, which usually points to film that is well past its useful life.
One window showing symptoms while the rest look fine may allow for a single-window replacement. Multiple windows failing typically means the whole vehicle needs to be redone to keep the appearance consistent across the car.
Can Bubbled or Peeling Tint Be Repaired?
Here is the honest answer. In almost every case, the real fix is replacement rather than repair. Many drivers hope there is a shortcut, but the chemistry of tint failure simply does not allow for one.
Why DIY Fixes Rarely Work
You may have seen online videos showing someone pressing a bubble flat, reheating an edge with a hair dryer, or applying pressure to make lifted film stick again. These methods can look like they work for a day or two, but they do not address the underlying adhesive breakdown. Within weeks, the same bubble or edge lift reappears, often worse than before. The bond between film and glass is chemical, not mechanical. Once the adhesive has failed, no amount of heat or pressure will revive it.
When Full Replacement Is the Only Answer
The correct approach when film has failed is to remove it cleanly, clean the glass of any adhesive residue, and install new film. A trained installer can do this without damaging the window or the defroster lines. Trying to peel failed tint yourself often results in torn film, sticky residue that requires professional removal anyway, and sometimes damage to rear window defroster grids. That kind of damage can be costly to repair and is completely avoidable by letting a professional handle the removal. Shops like Black Bear Protective Films have the specialized tools and techniques to strip aged film without harming the glass underneath.
How to Prevent Window Tint From Bubbling or Peeling
Prevention is the real goal here. The better your decisions on day one and during the first few weeks of ownership, the longer your tint will look good and perform well. Think of it as a series of small choices that compound over years.
Choosing the Right Film From the Start
This is the single biggest factor in long-term durability. Investing in carbon or ceramic film rather than basic dyed tint often doubles or triples the lifespan, and premium films come backed by real manufacturer warranties that cover bubbling, peeling, and color shift. Certified installers working out of established shops in Indian Land, SC have access to film lines that genuinely perform the way the marketing claims. Backyard operations rarely do. Ask any installer what brand they use, what warranty comes with it, and what the expected lifespan is. An installer who cannot answer those three questions confidently is not the right choice.
Following Proper Curing Guidelines
After installation, leave the windows up for the first three to four days. Avoid washing the vehicle during that same window. Avoid parking in direct sun for long periods when possible, since extreme heat during curing can cause the adhesive to shift before it fully sets. These small habits in the first week protect the film for the entire years-long life it is supposed to deliver. A professional window tinting shop will always give you written aftercare instructions. Read them and follow them exactly, even when they seem overly cautious.
Smart Long Term Maintenance Habits
Clean tinted windows only with ammonia-free automotive glass cleaner and a soft microfiber cloth. Avoid automatic car washes with stiff brushes during the first few weeks, and be careful with them even after curing has finished. Do not stick suction cups, phone mounts, or window decals directly to tinted glass, since removing them later can lift the film. Keep the vehicle garaged when possible, and park in shaded areas during long stretches of hot weather. None of these habits are difficult on their own. Together, they can easily add years to the life of any tint installation. Quality shops enforce these rules in their aftercare guidance because decades of combined installer experience have shown which behaviors kill film and which ones preserve it.
Conclusion
So why does window tint bubble or peel? The short answer is that every tint installation is a race between the quality of the film, the quality of the installation, the harshness of the environment, and the care the owner gives it. When all four factors work in your favor, tint easily lasts five to ten years. When one or two of them work against you, failure arrives much sooner than it should.
The good news is that almost every cause of tint failure is preventable with smarter choices upfront. Invest in quality film from a recognized brand. Choose a certified installer with real credentials and a verified portfolio. Follow the curing guidelines during the first week. Use the right cleaning products for the full life of the film. Do those four things consistently and bubbling, peeling, and discoloration move from expected problems to rare exceptions. When the day eventually comes to replace your tint, the decision will be on your timeline rather than forced on you by visible failure. That is the whole goal, and it is absolutely within reach for any driver who plans ahead.
Frequently Asked Questions
How soon after installation would bubbles indicate a problem rather than normal curing?
Small moisture bubbles during the first one to two weeks are part of the normal curing process and usually clear on their own. Bubbles that appear three weeks or more after installation, or that grow in size instead of shrinking, point to either contamination trapped during install or an adhesive defect. Either scenario should be reviewed by the installer under warranty while the work is still within the coverage window.
Does tint bubble more in certain types of vehicles than others?
Vehicles with aggressively curved rear windows, factory defroster grids with raised lines, or thick ceramic factory glass are more prone to installation issues that lead to bubbling later. Professional installers account for these factors with film choice and technique. Budget shops often do not, which is why identical tint can perform very differently across vehicle types even when the same film is used on both.
Will bubbled or peeling tint affect my vehicle inspection or cause legal trouble?
In most states, tint that is visibly failing is not itself illegal, but the underlying condition can create visibility issues that lead to a failed inspection. More importantly, degraded film often no longer meets the original VLT specifications it was installed to, which can push it outside legal limits. Replacing failing tint is the safer call when there is any doubt about its condition.
Is it worth upgrading to ceramic film after dyed tint has failed?
Yes, in almost every case. Ceramic film costs more upfront but typically lasts two to three times longer than dyed film, provides dramatically better heat rejection, does not interfere with electronics, and is far less likely to bubble or peel within its warranty period. Drivers who have replaced failed dyed tint with ceramic rarely go back to cheaper alternatives once they experience the difference.
Can bubbles or peeling spread to untinted glass or other parts of the car?
No. Tint failure is limited to the film itself and does not damage the glass underneath. Once the old film is professionally removed and the adhesive residue is cleaned off, the glass is completely unaffected and ready for fresh tint. This is one of the reasons replacement is always the right call rather than trying to repair failing film that has clearly reached the end of its useful life.
Our Other Blog Posts Related Window Tinting
The Science of Window Tinting: Demystifying VLT for Waxhaw, NC Drivers
How Window Tinting in Indian Land, SC Improves Driving Comfort in Hot Weather
Energy Savings with Window Tinting in Indian Land, SC for Electric Vehicles
How Window Tinting in Indian Land SC Protects Car Batteries and Electronics
Window Tinting Laws South Carolina | Legal Tint Limits Guide